Building a Church Website that gets found by Google
How can a church website benefit the congregation? Building a church website can greatly benefit the congregation by increasing outreach and engagement. Through a website, the chur
Teachings(Sermons)/Ministies: These sections are not widgets – we have already stylized it so that you can add each category post directly into your homepage by creating a new “Post” for each item.
Note: Before you begin creating new posts you will want to adjust some settings within your Genesis theme so that everything appears on the home page correctly. At the very top left corner of your screen you will see the WordPress Logo, click on this.
![]()
From here look at your left side bar about midway down the bar, you will see “Genesis.” Hover over this button and choose “Theme Settings.” Scroll down the theme settings page until you get to “Content Archives” Match all settings with the screenshot below.
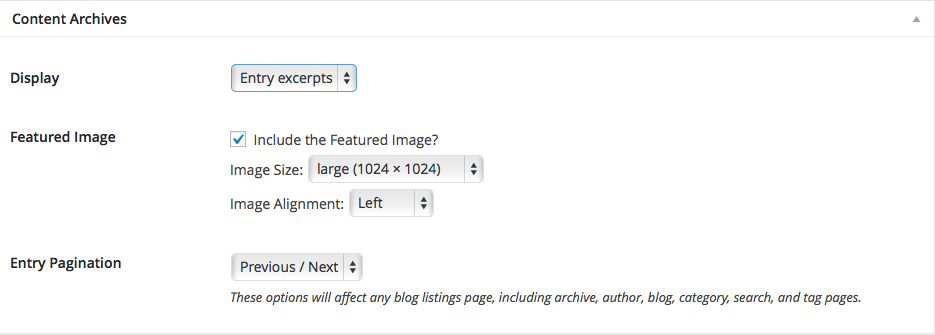
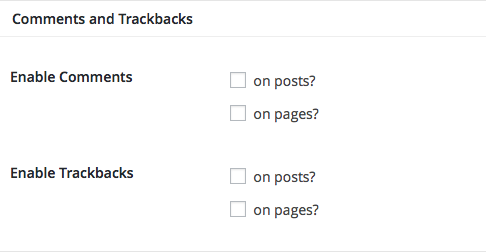
Now is the time to also choose if you want to allow comments and trackbacks on your teaching posts or not. Directly above the “Content Archives” you will find the area to checkmark whether or not you would like to allow comments to be added. Uncheck this to disallow all comments. We recommend using a Facebook Comments plugin or the code itself to install comments if you choose.
From the left sidebar chose “Posts” and “Add New.”
Add the title of teaching post (typically your teaching/sermon or ministry title) and in the “Text” tab of the content box (NOT the visual tab) paste your embed video or audio code or add your text/picture of your ministry.

Note: You will have to use a video-sharing website for your video/audio content – we suggest Vimeo, YouTube or SoundCloud (audio only). For more advanced users we suggest using SubSplash or Church Online Platform if desired. Read our article for a more in-depth look and explanation on why you can’t just upload these files to your site.
Once you have it uploaded on these platforms you can “Share” and copy the embed video code (very similar to the Google Map coding in previous steps). We suggest adjusting the code in your embed audio/video to change the size to 800×750.
The next step is to create a feature image to go with your post. This can be a photo of anything you’d like. On the bottom right side of the post page you will see a spot to “Set Featured Image.” Simply upload your photo here.

We recommend photos be at least 680px wide and 72dpi optimized for web with ImageOptim or another like-tool. All featured images are setup to be cover images so they will fit on multiple devices. Keep this in mind when including text and graphics on your image. Certain screen sizes may not display all the art if it is too close to the edge of your graphic.
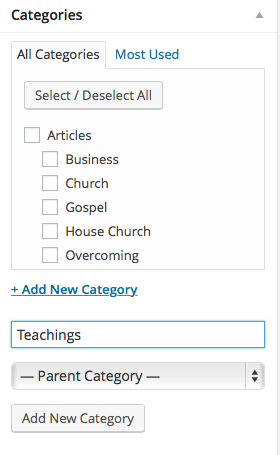
IMPORTANT: The last step to creating your blog post is to add the category on the bottom right side of your post page. You MUST add the category Teachings(Sermons) or Ministries to your post in order to pull it to your homepage & you will want to remove the Uncategorized. (You may have to add “Teachings” as a new category first)
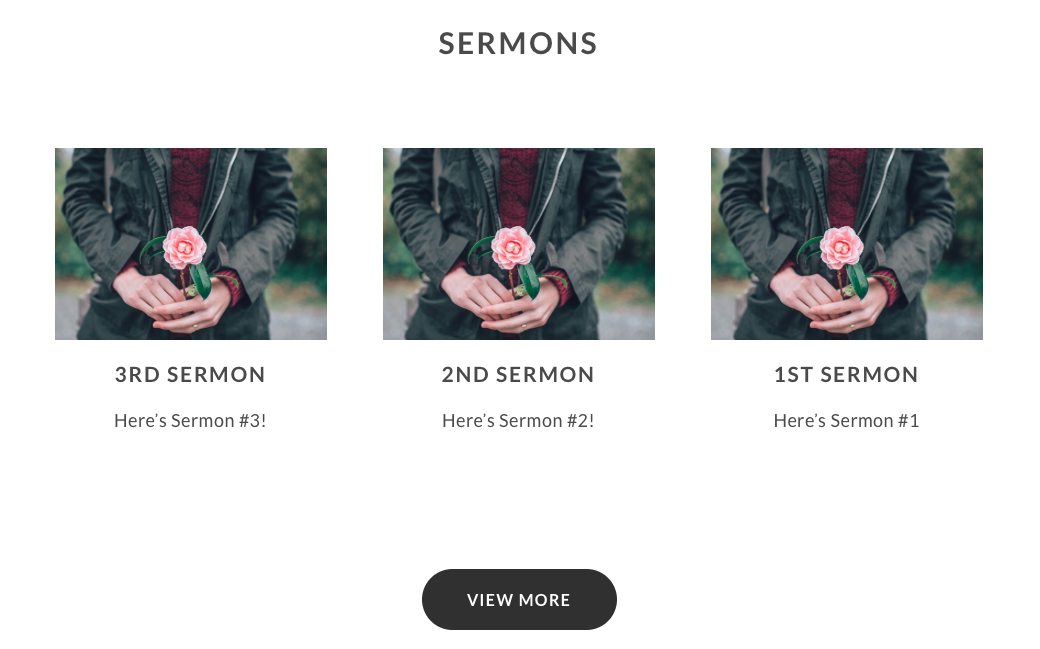
Add your posts for each teaching/sermon or ministy (the latest 3 will always appear on your homepage) & preview your home page, your desired category should be added!
How can a church website benefit the congregation? Building a church website can greatly benefit the congregation by increasing outreach and engagement. Through a website, the chur
What Makes a Great Church Website? When it comes to creating a standout church website, several crucial elements and features contribute to its success. The design of the website p
A high quality church website is just one step away with the new Overcomer web theme from ChurchPress.
With closures, restrictions and mask requirements still in place around the world due to the COVID-19 pandemic, sickness is top of mind for many people. It’s difficult to go a da
The coronavirus pandemic has upended and, in some cases, suspended life as we know it. With quarantine and stay home orders in place around the world, we are all experiencing chang
It’s all around us. The fear, chatter and uncertainty. How can we focus on something else? As we’re separated from family and friends and life continues to change, scary though
There are a lot of great resources out there to help people during this trying time. Here are some of our favorites! 1. BibleProject BibleProject offers hundreds of great, fr
As a global population, we’re facing a very real and frightening crisis in the COVID-19 pandemic. It’s a collective crisis, but individual experiences vary greatly. Some are ab
What will you choose? If you feed your faith, your fears will starve. On the other hand, if you feed your fears, your faith will starve. In unprecedented times like these, it feels