Building a Church Website that gets found by Google
How can a church website benefit the congregation? Building a church website can greatly benefit the congregation by increasing outreach and engagement. Through a website, the chur


How can a church website benefit the congregation? Building a church website can greatly benefit the congregation by increasing outreach and engagement. Through a website, the chur
What Makes a Great Church Website? When it comes to creating a standout church website, several crucial elements and features contribute to its success. The design of the website p
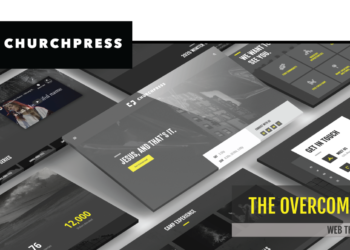
A high quality church website is just one step away with the new Overcomer web theme from ChurchPress.
With closures, restrictions and mask requirements still in place around the world due to the COVID-19 pandemic, sickness is top of mind for many people. It’s difficult to go a da
The coronavirus pandemic has upended and, in some cases, suspended life as we know it. With quarantine and stay home orders in place around the world, we are all experiencing chang
It’s all around us. The fear, chatter and uncertainty. How can we focus on something else? As we’re separated from family and friends and life continues to change, scary though
There are a lot of great resources out there to help people during this trying time. Here are some of our favorites! 1. BibleProject BibleProject offers hundreds of great, fr
As a global population, we’re facing a very real and frightening crisis in the COVID-19 pandemic. It’s a collective crisis, but individual experiences vary greatly. Some are ab
What will you choose? If you feed your faith, your fears will starve. On the other hand, if you feed your fears, your faith will starve. In unprecedented times like these, it feels